Character Creation
Character Creation
In Warp Field, character creation is open-ended, modular, and encourages creativity. Follow the steps below to build a unique character suited to the setting and your narrative goals.
Step 1: Choose a Being
A Being represents your character’s species, nature, or metaphysical essence. Each Being has its own maximum attribute caps and come with specific traits or roleplay hooks. Beings may share a name and visual similarities, but they can be from any alternate reality.
A characters backstory and visual appearance, need not be hindered by its Being. A Brachea is a Brachea, even if it looks slightly more humanoid and evolved than one from another reality that is more insect-like.
Step 2: Assign Attributes
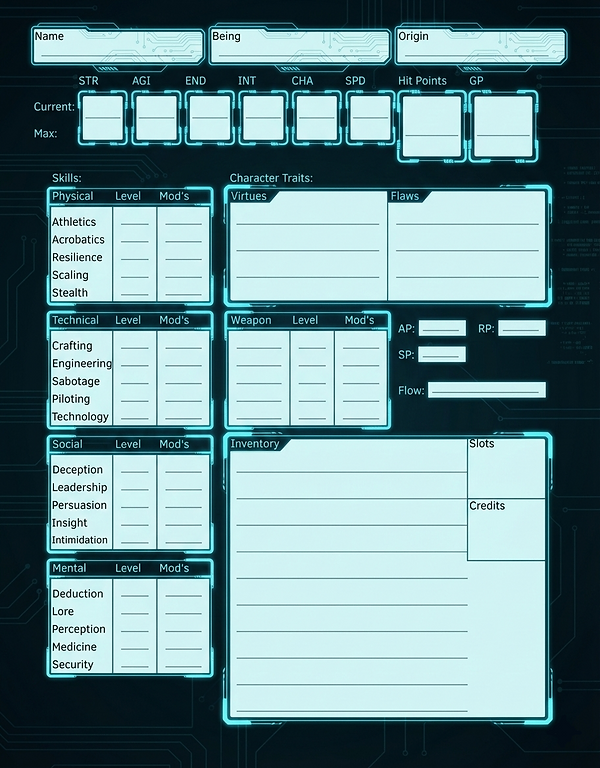
Every character starts with each attribute at 1. You have 15 points that you can spend to increase your attributes.
Attributes can be increased through training, goals, or other effects, up to your Being’s Attribute Maximum.
Step 3: Choose Virtues & Flaws
Character traits are separated into Virtues and Flaws. Flaws introduce weaknesses, while Virtues grant powerful character bonuses. You start with:
-
3 Virtues
-
2 Flaws.
You may take additional Flaws for more Virtues at character creation (GM approval required).
Step 4: Assign Skills
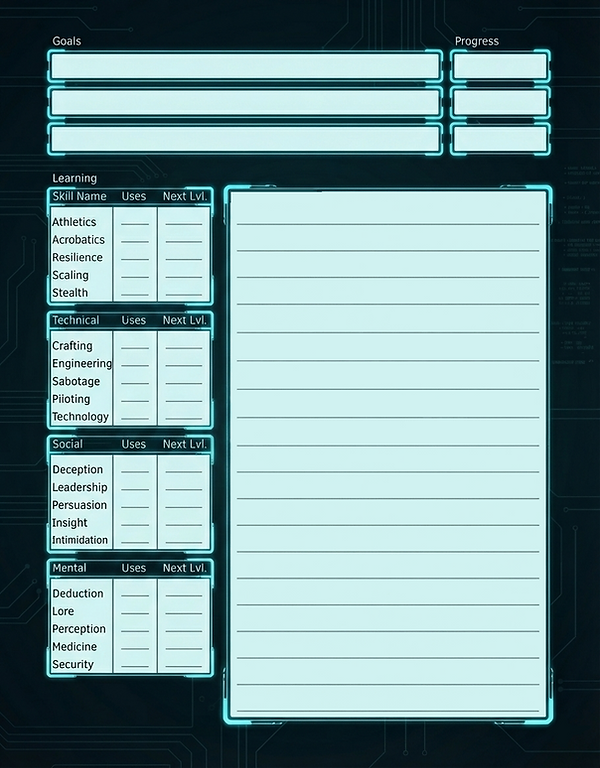
You begin with 5 points with which to increase your skills starting proficiency by one level per point (maximum of 3). Skills unlock special Focus Effects at odd levels.
You can choose Hopeless skills (Proficiency Level -5) as well. Hopeless Skills cannot be improved, but grant you 1 additional point to level your proficiencies.
All skills without at least 1 level start as Weak (Proficiency Level -2). Weak skills can be trained up to Level 1.
You may also choose 1 skill that you have at least 1 proficiency level in and give it the Potential trait allowing you to train it up to Proficiency Level 5.
Step 5: Choose Weapon Proficiencies
Select up to 3 weapons to begin with at Proficiency Level 1.
Weapon proficiency adds to attack rolls with those weapons and unlocks unique Weapon Focus effects at odd levels.
You may also choose 1 weapon that you have at least 1 proficiency level in and give it the Potential trait allowing you to train it up to Proficiency Level 5.
Step 6: Origin (Optional)
Create an origin to determine the culture your character comes from. This grants additional bonus effects and can determine your starting equipment. Work with your GM to determine starting gear, including weapons, armor, and essential items if you can't find an origin you like.
Step 7: Choose a Main Ability School
Schools represent your training and your approach to navigating the world and the Warp Fields. You could think of these as a Character classes if it helps, but they don't really act that way.
Each School grants you access to a specific mechanic, a way to generate Signature Points (SP), and 1 additional ability from that school on character creation.
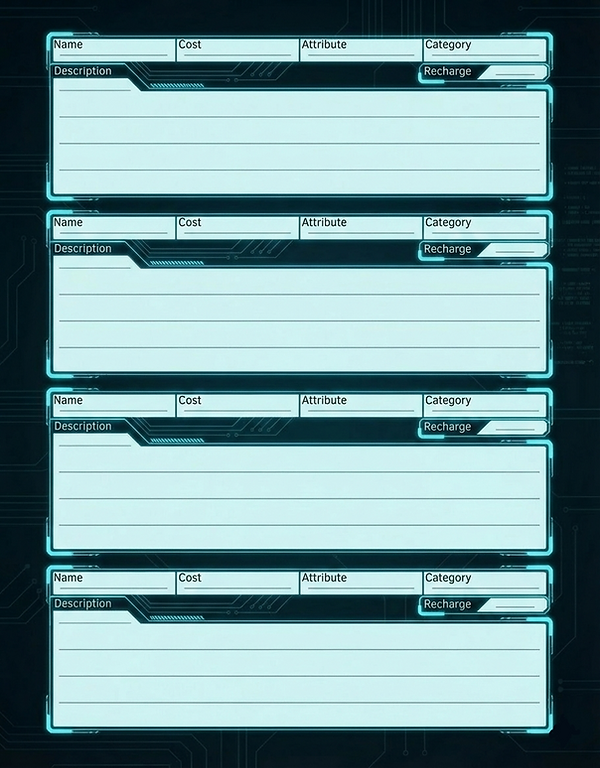
Step 8: Abilities
Choose 3 abilities from any school. The abilities can be found on their respective Ability School page.
Abilities may use the same names, but are meant to be flavored based on the character using them. For instance, two characters may know a Pyro ability, but one may conjure flaming birds which fly into enemies, while another throws daggers of fire. Flavor your abilities to create a unique character all your own.
You cannot choose abilities that have a prerequisite that you don’t meet unless your GM approves.
Step 9: Create a Signature Ability
Every character has a unique Signature Ability that grows with them. This is your own unique super move that can turn the tide of battle.
Signature Ability Creation Guide
Step 10: Personal Details
Name, age, appearance, goals, fears, quirks, etc. This is where you make the character yours.
Step 11: Flashbacks
Create important moments in your characters backstory that can affect the narrative and grant mechanical bonuses when met with similar situations.
Character Sheet